Most Figma libraries do not fail because of bad taste. They fail because of duplication. Figma's own guidance shows that component properties can collapse dozens of near identical layers into one flexible component (Figma - Create and manage component properties). I have rebuilt libraries where a single button existed as 60 separate frames. Sixty. After a properties rewrite it was one component set with two variants and three properties. Same coverage, a fraction of the maintenance.
This guide is about the four tools that decide whether your components scale: variants, auto layout, component properties, and the slots pattern. Get the split right and updates take minutes. Get it wrong and every design token change becomes a scavenger hunt.
TL;DR: Figma components scale when you split them right: variants for different states of one object, separate components for different objects, and properties, boolean, text, instance swap, to carry variable content inside one variant. Auto layout lets instances hug or fill instead of breaking, and the slots pattern lets one wrapper, like a modal, hold any content without a variant per case.

Most Figma libraries don't fail because of bad taste. They fail because of duplication.

When should you use variants versus separate components?
Use variants for states of the same object, and separate components for genuinely different objects. Figma lets a single component set hold many variants organized by named properties like Size or State (Figma - Create component variants). That power gets abused constantly. A variant set should read like a small, obvious grid, not a junk drawer.
Here is the test I run. Could these two things ever swap into the same spot on a screen? A primary and secondary button, yes. A button and a dropdown, no. If the answer is no, split them.
- Same object, different state: use variants (default, hover, disabled)
- Different content, same shape: use a component property
- Genuinely different UI element: separate components entirely
I once inherited a set called "Element" with 84 variants. Cards, chips, and tags all crammed together. Nobody could find anything. We broke it into three components and the panel finally made sense.
How do component properties cut duplication?
Component properties let one variant carry variable content, which is where the real duplication savings live. There are four types worth knowing: boolean, text, instance swap, and variant. On a typical button I use a boolean to toggle a leading icon, a text property for the label, and an instance swap so the icon itself is exchangeable without a new draw.
| Property type | What it controls | Example |
|---|---|---|
| Boolean | Shows or hides a layer | Toggle a leading icon on a button |
| Text | Editable string exposed in the right panel | The button's label |
| Instance swap | Replaces a nested instance | Swap which icon appears |
| Variant | Discrete visual state drawn once | Size or emphasis |
Boolean and text properties
Booleans show or hide layers. Text properties expose editable strings directly in the right panel, so nobody double clicks four layers deep to change a label. Small thing, huge time saver. On a notification component I expose the title text, the body text, and a boolean for the dismiss button. That single component covers what used to be nine frames.
Instance swap properties
Instance swap is the quiet hero. It lets a consumer replace a nested instance from a dropdown, so one card can host any icon in your set. For years it was also the workaround people used to fake slots. Figma now has real ones, which I will get to.

How does auto layout keep components responsive?
Auto layout is the resizing engine that makes a component adapt instead of shatter when content changes. Set a frame to hug or fill, define padding once, and children reflow automatically. My default button uses 12 pixels vertical and 16 horizontal padding, hug height, and a label set to fill.
Nesting is the part people skip. A card is really three stacked auto layout frames: header, body, footer, each with its own gap. Set each child's resizing on purpose.
- Fixed: avatars, icons, anything with a locked dimension
- Hug: labels and tags that should shrink to their content
- Fill: text blocks and containers that should stretch
Do you really need a 320 pixel and a 480 pixel version of the same card? Usually not. One auto layout card handles both widths.
How do you build auto layout that stays responsive with real content?
Responsive auto layout comes from four settings working together: the flow (horizontal, vertical or grid), wrap, min and max dimensions, and per-child resizing. Hug and fill alone get a component through the mock. They don't get it through a German translation, a 90 character product name or a 1440px dashboard, and that's where most "responsive" components quietly break.
Which flow should a component use?
Figma's auto layout now has three flows, not two. Horizontal and vertical stack children along one axis. The grid flow, introduced at Config 2025, places children in rows and columns for galleries, bento boxes and dashboard layouts that resize with the frame (Figma - Use the grid auto layout flow). Grid tracks can be fixed, hug, or fill, and fill uses fractional units, the same fr idea as CSS Grid. A child can span several columns or rows, but only when it's set to fill container.
Wrap is the other one people forget. It's available on horizontal and vertical flows, and it moves children to a new row or column once they stop fitting. A row of filter chips should wrap. A row of tabs usually shouldn't, because tabs that wrap onto two lines look broken rather than responsive.
Why min and max width matter more than hug and fill
Fill container is dangerous on its own. A text block set to fill will happily stretch to 1600 pixels on a wide frame, and a line that long is miserable to read. The fix is a max width, which Figma lets you combine with any other resizing mode from the width dropdown, alongside a min width for the opposite failure (Figma - Guide to auto layout). A card body that fills its column but caps at 640 pixels behaves like a well-written CSS rule. Without the cap, it behaves like a demo.
Here's how the settings line up with what a front-end developer will write. The mapping isn't perfect, but it's close enough that naming it out loud saves an argument at handoff.
| Figma auto layout setting | Closest CSS | Use it for |
|---|---|---|
| Horizontal or vertical flow | display: flex with flex-direction | Buttons, list rows, stacked card sections |
| Wrap | flex-wrap: wrap | Chip groups, tag lists, toolbars |
| Grid flow with fill tracks | display: grid with fr columns | Galleries, bento layouts, dashboard tiles |
| Min and max width | min-width and max-width | Text blocks, cards, modal bodies |
| Gap set to Auto | justify-content: space-between | Header rows with a title left and actions right |
| Text baseline alignment | align-items: baseline | Mixed-size labels, an icon beside a price |
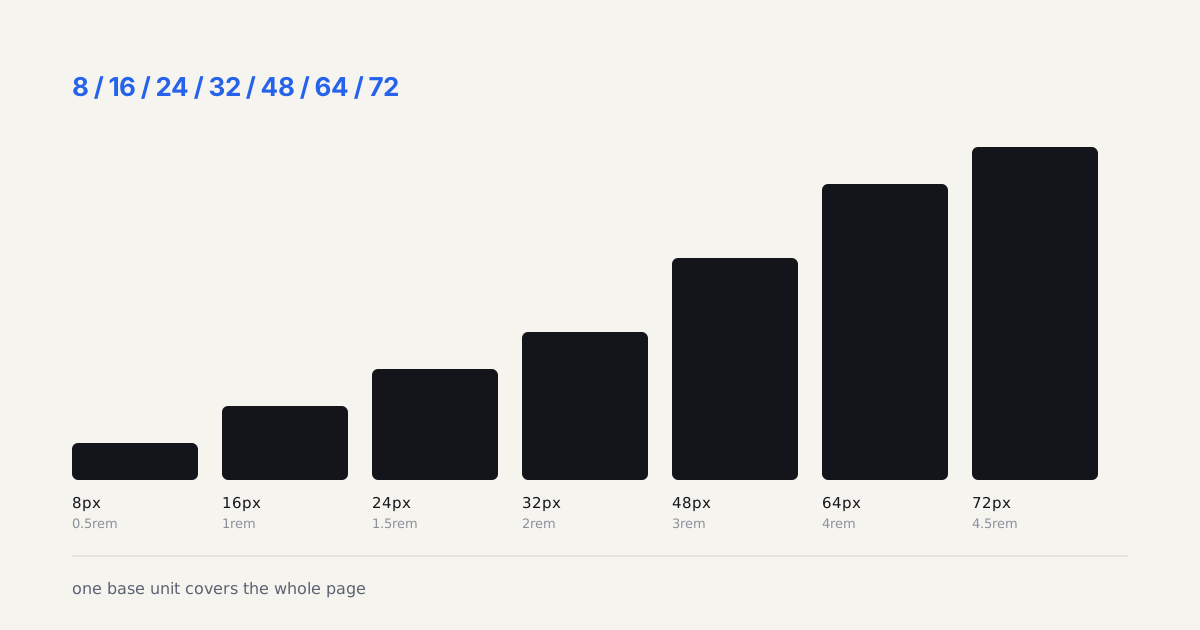
If the gap and padding values in that table come from a scale, not from whoever drew the frame, the component will also agree with the rest of the product. The spacing scale generator builds that scale as copy-ready variables, which you can then bind to auto layout gaps and padding in Figma.
How do native slots change the pattern?
Slots keep a wrapper component in charge of layout while each instance supplies its own content. Think of a modal that controls padding, radius and shadow but lets the body hold anything. Until 2026 that meant a workaround: an instance swap on a placeholder frame. Figma now ships slots as a real component property, available on all plans (Figma - Use slots to build flexible components).
You can create one three ways: convert a nested frame with Cmd+Shift+S (Ctrl+Shift+S on Windows), wrap non-frame layers in a new slot, or create the Slot property first and assign it later. Two settings turn a slot from a free-for-all into a governed area:
- Minimum and maximum layers. A card footer that expects one to three actions says so. Exceeding the limit shows a warning rather than blocking the edit, so treat it as guidance.
- Preferred instances. A curated list of components meant to go inside, with an option to only allow those. This is the setting that keeps a modal body from filling up with one-off frames.
The limits are worth knowing before you migrate. You can't apply component properties to layers inside a slot. An instance can't change the slot's position, auto layout flow or constraints. And removing a slot property is destructive: instances fall back to their default content.
Is every instance swap now a slot? No. Figma's own guidance draws the line cleanly (Figma - Slots, instance swap and variants): instance swap for rigid components where one nested element changes, slots for flexible regions inside guardrails, variants for states and types. My contrarian take still stands, just with better tooling behind it: most teams over build variants and under use slots. Slots keep wrapper logic in exactly one place. Change the modal shadow once and every modal follows.
Nesting slots inside slots gets fragile fast, though. I cap it at two levels. Beyond that, working out why a padding value isn't applying eats an afternoon.
What naming and library conventions keep a Figma library findable?
A library is only as good as the search box. Figma recommends slash-separated names such as Button/Primary or Icon/Close, and each slash creates another level of hierarchy in the assets panel and the instance menu (Figma - Name and organize components). The assets panel also mirrors the file's structure, file then page then frame, and it lists pages in alphanumeric order rather than the order you arranged them. Number your pages (01 Foundations, 02 Inputs, 03 Navigation) and the panel finally matches the file.
The conventions that hold up across teams:
- Name for the consumer, not the builder.
Card/ProductbeatsCardV2-final. Nobody searching the panel knows what V2 meant. - Match variant properties to code props. If the React component takes
sizeandvariant, the Figma properties areSizeandVariant, with the same values. Dev Mode then reads like the codebase. - Hide the building blocks. Internal pieces such as a button's focus ring or a table cell base shouldn't appear in the library. Prefix the name with a period, or right-click and choose Hide when publishing (Figma - Hide components when publishing).
- Keep one naming grammar for components, variables and styles. If colors are
color/brand/primary, don't let components drift intoBrand Button Blue.
On the Organization plan, in-app library analytics show which components get inserted and detached. Read the detach numbers every quarter. A component people keep detaching isn't a discipline problem. It's a component that doesn't fit the job, and the fix is a property, a slot, or a split.
Keeping libraries maintainable
Maintainability comes down to fewer, smarter components rather than more clever ones. Every extra variant is a future edit multiplied across the file. Before adding one, ask whether a property covers it. Before adding a component, ask whether a variant covers it.
The libraries I trust share three habits. Named properties that read plainly. Auto layout on every container. Slots for wrappers instead of endless variants. Do that and your files stop breaking under their own weight, and a design token update ripples through your whole product in one pass, not fifty.
Components are the layer your tokens ride on, so wire them into a real pipeline with design tokens from Figma to code. If you're assembling the whole library from scratch, the step-by-step design system guide covers the structure around them, and a handful of Figma plugins that save time speed up the repetitive parts of building variants. If a stakeholder is pushing a simpler tool instead, the Canva vs Figma comparison shows why components like these don't exist there. And once the library is built, the designer to developer handoff playbook turns those variants into specs engineers can ship. If your components need to move rather than just sit in a frame, Figma Motion's native timeline tool now animates them on the same canvas.